Custom Tile Sources
Base Maps
By default, NEON Command includes several ESRI Base Map sources for imagery. The Custom Base Maps editor allows you to add other imagery sources for use in the visualizer of NEON Command. NEON supports the following formats for base map imagery: TMS and GeoTiff.
Manage Custom Base Map Sources
To view and edit base maps sources, click “Edit->Custom Base Maps”. This will bring up a new window that manages custom base maps for the software.

Creating a Custom Base Map Source
To create a new base map source, click the “Add Tile Source” button in the bottom left. This will bring up the Tile Source Edit Dialog.
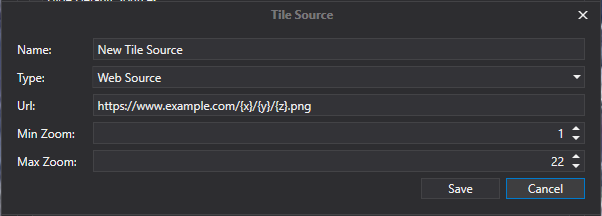
Here, the display name of the Tile Source must be set, as well as the information on where the base map tiles come from.
There are two types of Tile Sources:
- Web Source - A Webserver hosting a TMS Tile Server
- File Source - A directory on the local filesystem containing tiled image files.
For Web and File Sources, a “placeholder” URL is generally required. The special tokens “{x}” “{y}” and “{z}” will be replaced when querying the URL with the TMS tile coordinates of the area desired.
For examples, here are the tile URLs used in the default tile sources built into the NEON Command software:
- https://clarity.maptiles.arcgis.com/ArcGIS/rest/services/World_Imagery/MapServer/tile/{z}/{y}/{x}
- https://server.arcgisonline.com/ArcGIS/rest/services/World_Imagery/MapServer/tile/{z}/{y}/{x}
- https://server.arcgisonline.com/ArcGIS/rest/services/World_Street_Map/MapServer/tile/{z}/{y}/{x}
- https://stamen-tiles.a.ssl.fastly.net/terrain/{z}/{x}/{y}.jpg
Importing Base Maps from a Raster File
Geotiffs and other georeferenced raster files can be imported into a tile source by clicking the “Import From Raster” button on the Manage Base Maps dialog. The Tile Source edit dialog will open for configuration of the new tile source, and then the files can be selected for import using the given settings.
Terrain
By default, NEON uses ESRI terrain data for applications where the Android device is connected to the internet. The custom terrain editor allows you to add other terrain sources for use in the visualizer for display purposes. NEON supports GeoTiff and DTED formats for terrain data.
Manage Custom Terrain Sources
To view and edit terrain sources, click “Edit->Custom Terrain Sources”. This will bring up a new window that manages custom terrain for the software.
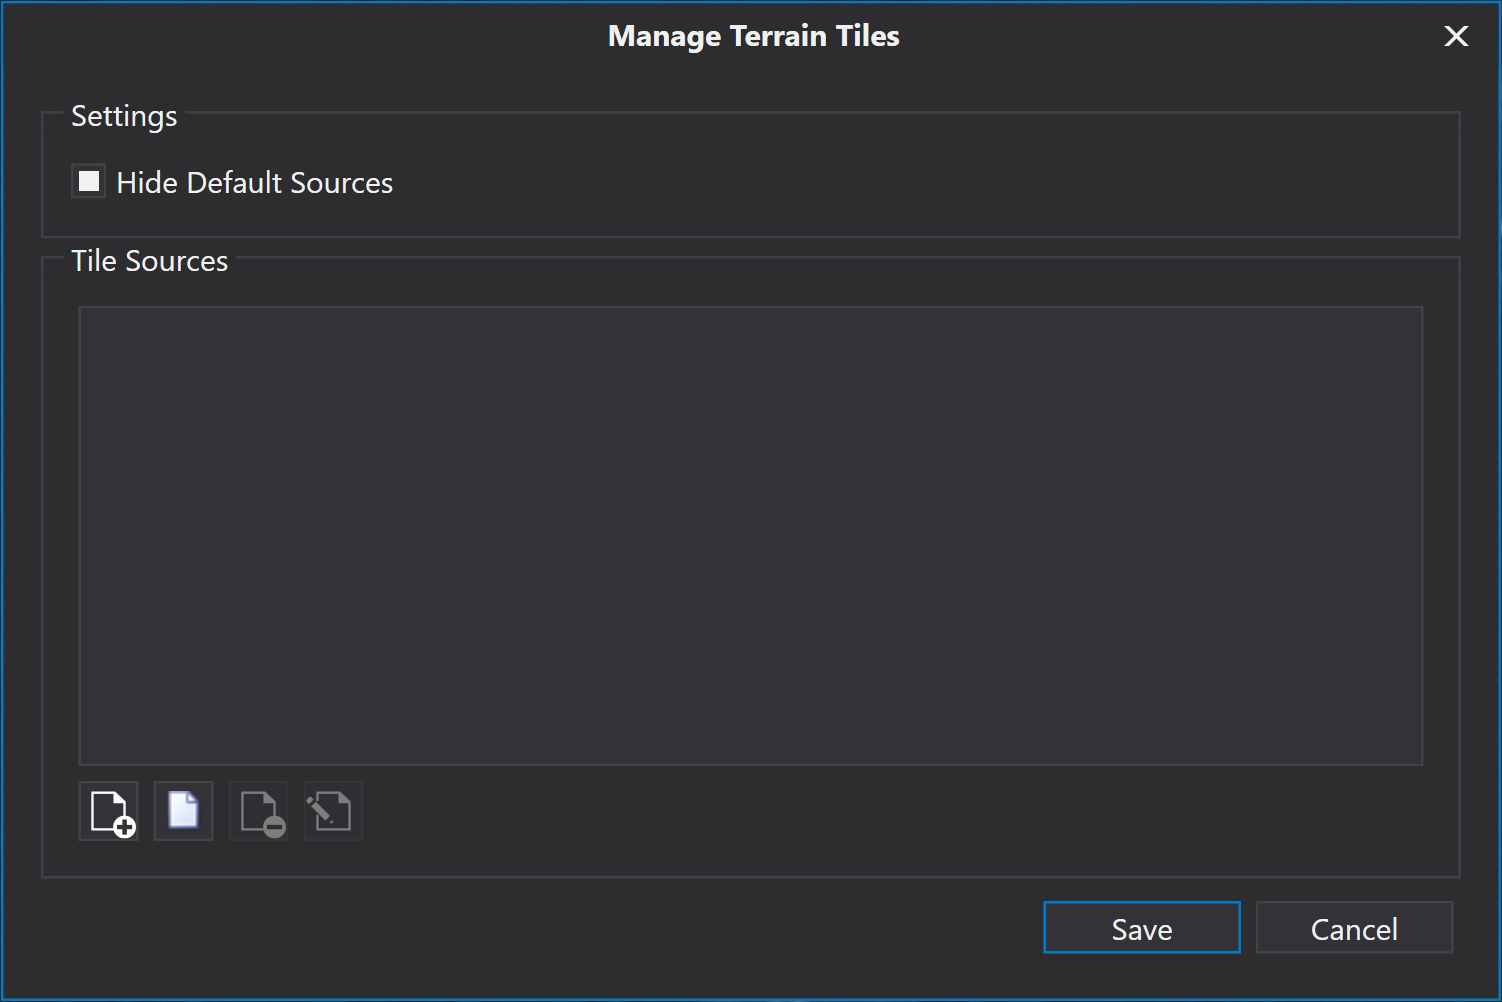
Creating a Custom Terrain Source
Similar to Custom Base Map Sources, the tile source information is configured here.
Terrain tiles must be digital elevation model (DEM) data in a tiled ESRI Lerc format. For more information on how to get terrain sources into the required format contact TRX Support.
Importing Terrain from a Raster File
Certain file formats, such as GeoTIFF’s and DTED’s can be imported via the “Import From Raster” button on the Manage Custom Terrain Sources dialog. The Tile Source edit dialog will open for some configuration, and then the files can be selected for import using the given settings.