Building Editor
Building details and floor plans can be modified either in NEON Command, on a PC, or in Mapper Mode on your Android device. Mapper Mode gives users the additional ability to take and load pictures of physical floor plans when no floor plan image files are currently available.
Procedure:
-
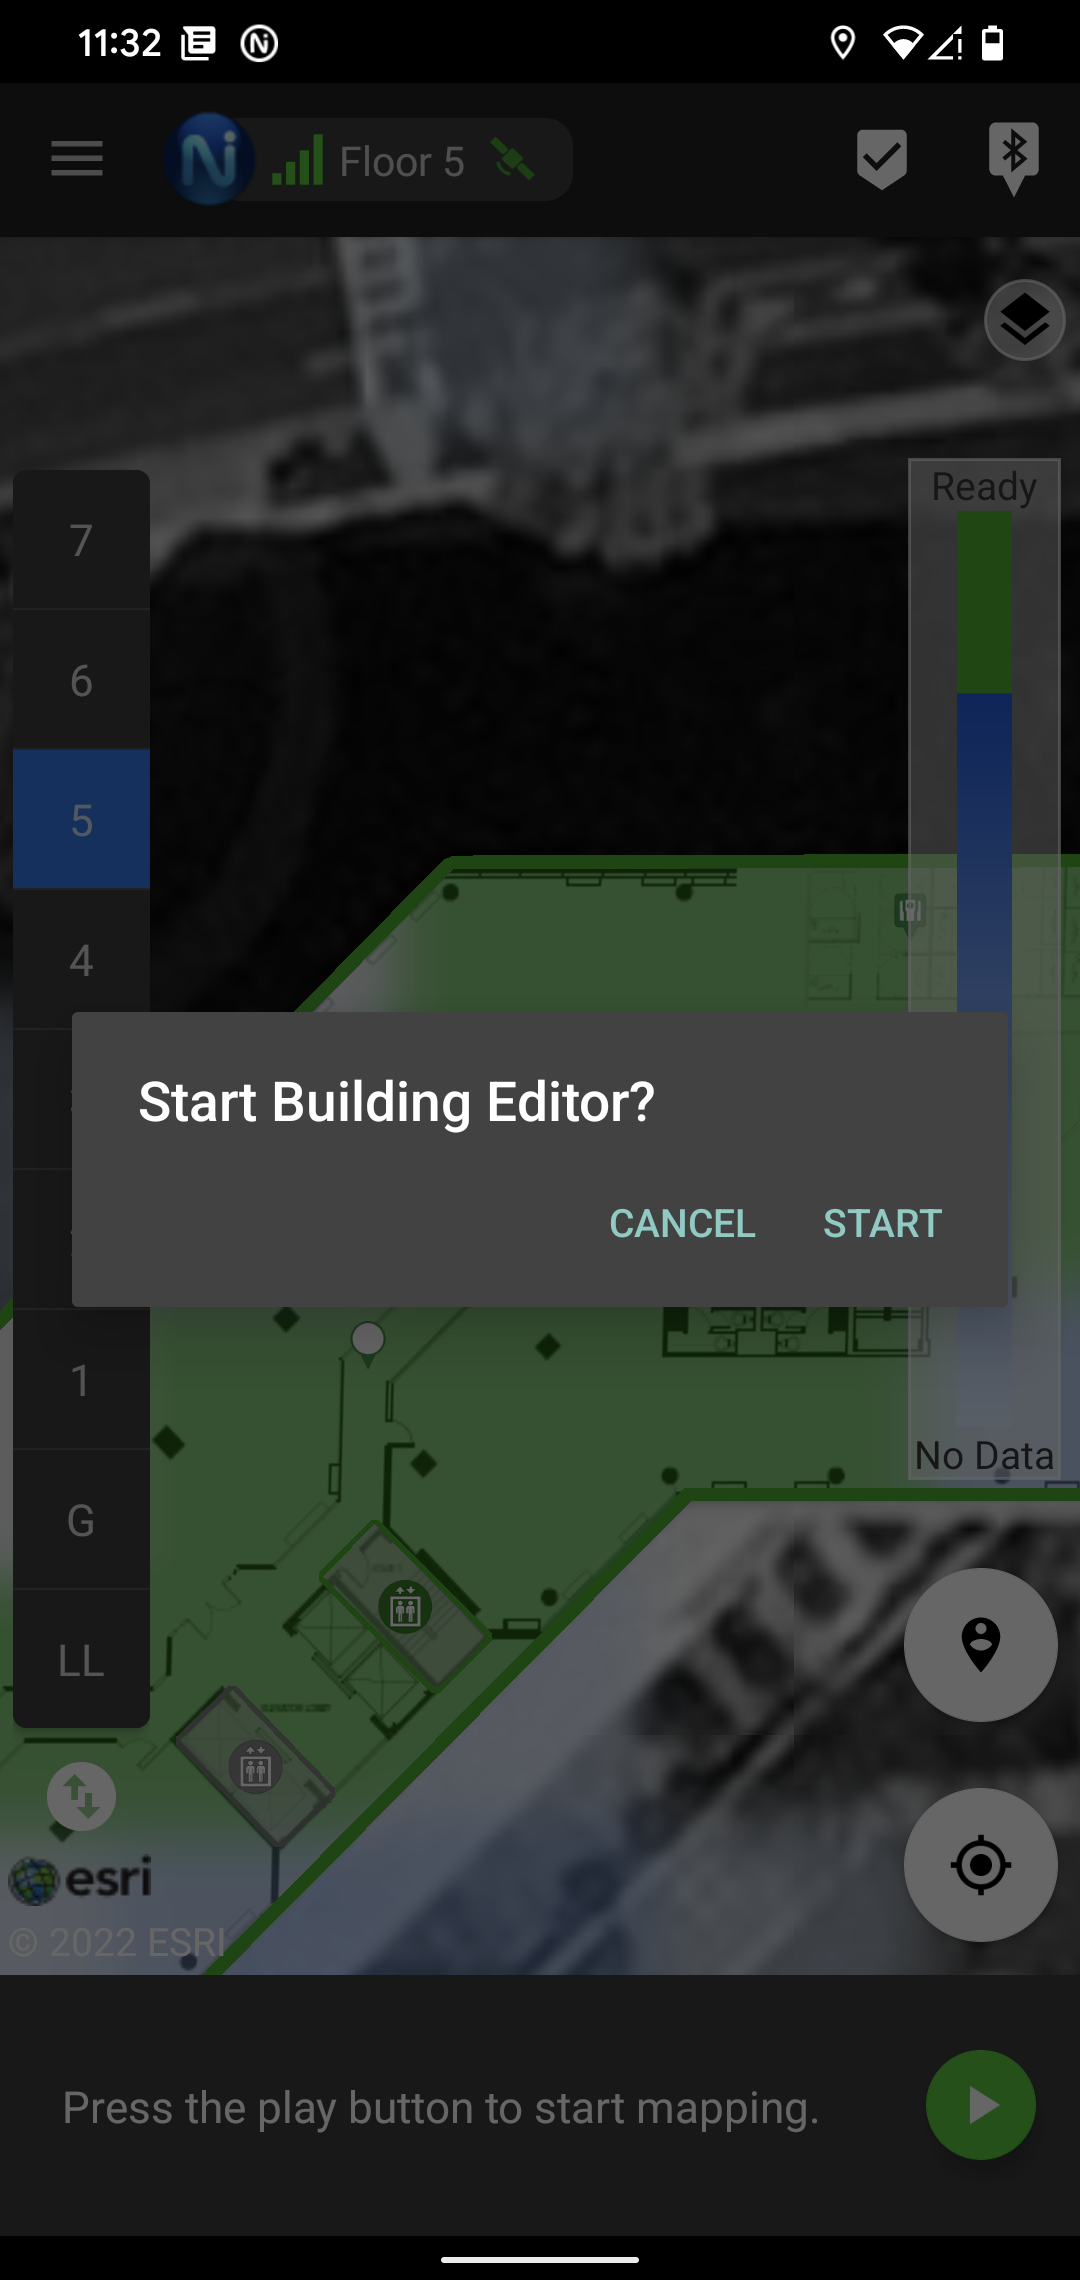
To enter Building Editor mode in Mapper Mode, tap on the building and hold on it until the Launch Building Editor dialog opens.
-
Tap “Start”. From the Building Editor main screen, the user can edit building details or change floor plans.
-
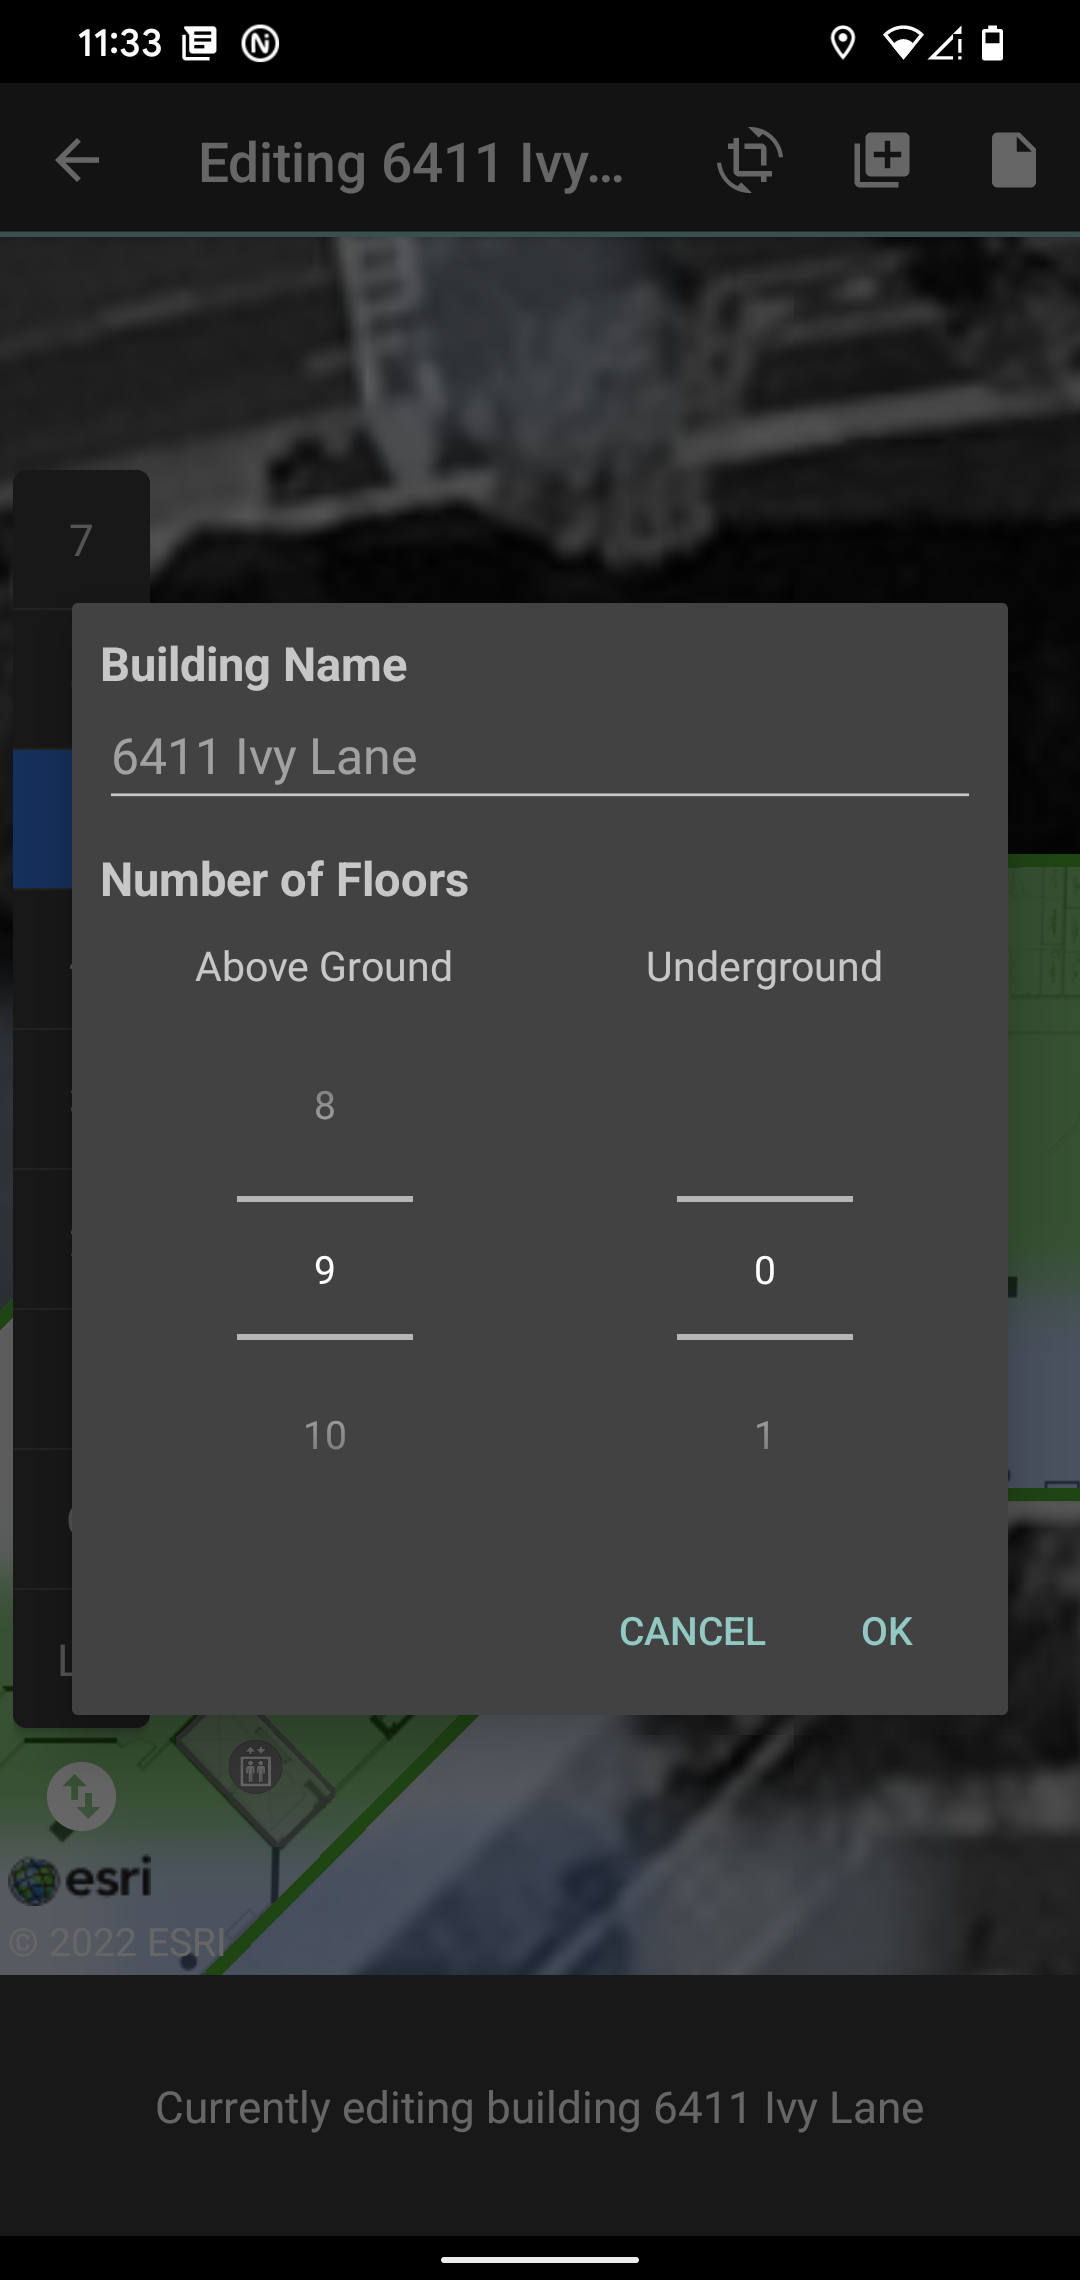
Tap the “Building Details” icon an enter the building name and number of floors. Then tap “Ok”
-
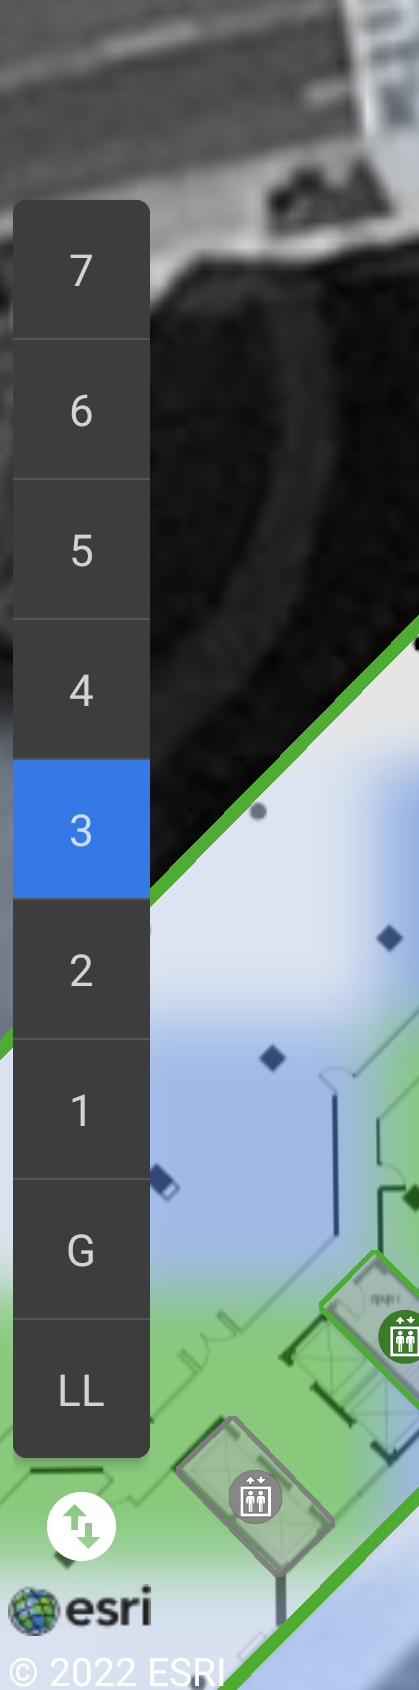
Tap to select the floor number from the floor selector on the left.
-
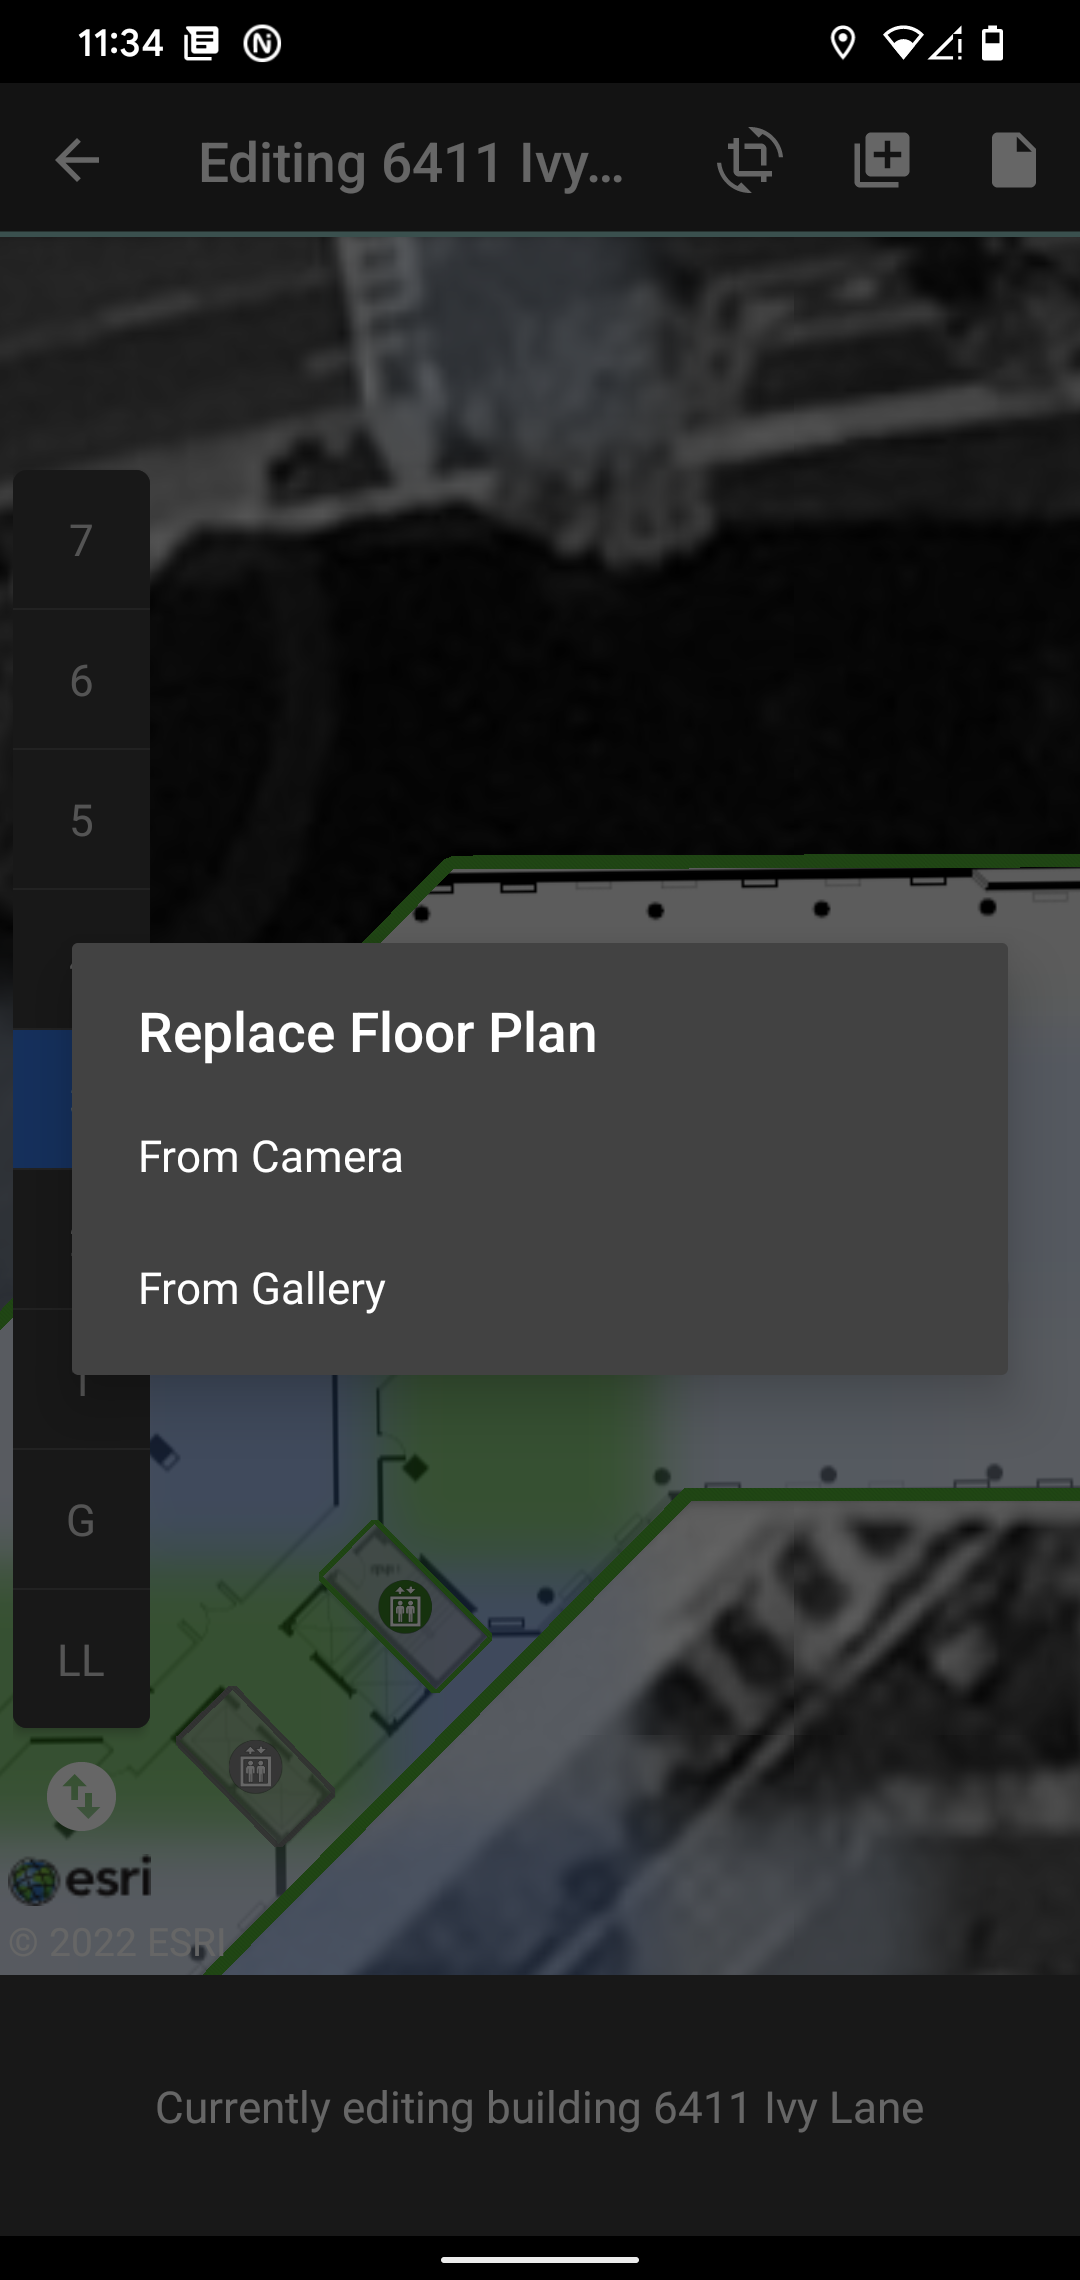
Tap the “Change Floor Plan” icon and choose to replace the floor plan with photos from the phone’s camera or a floor plan image from a gallery. The “From Camera” option lets you take a picture of a physical floor plan drawing. This is useful when no digital copy of a floor plan is available.
-
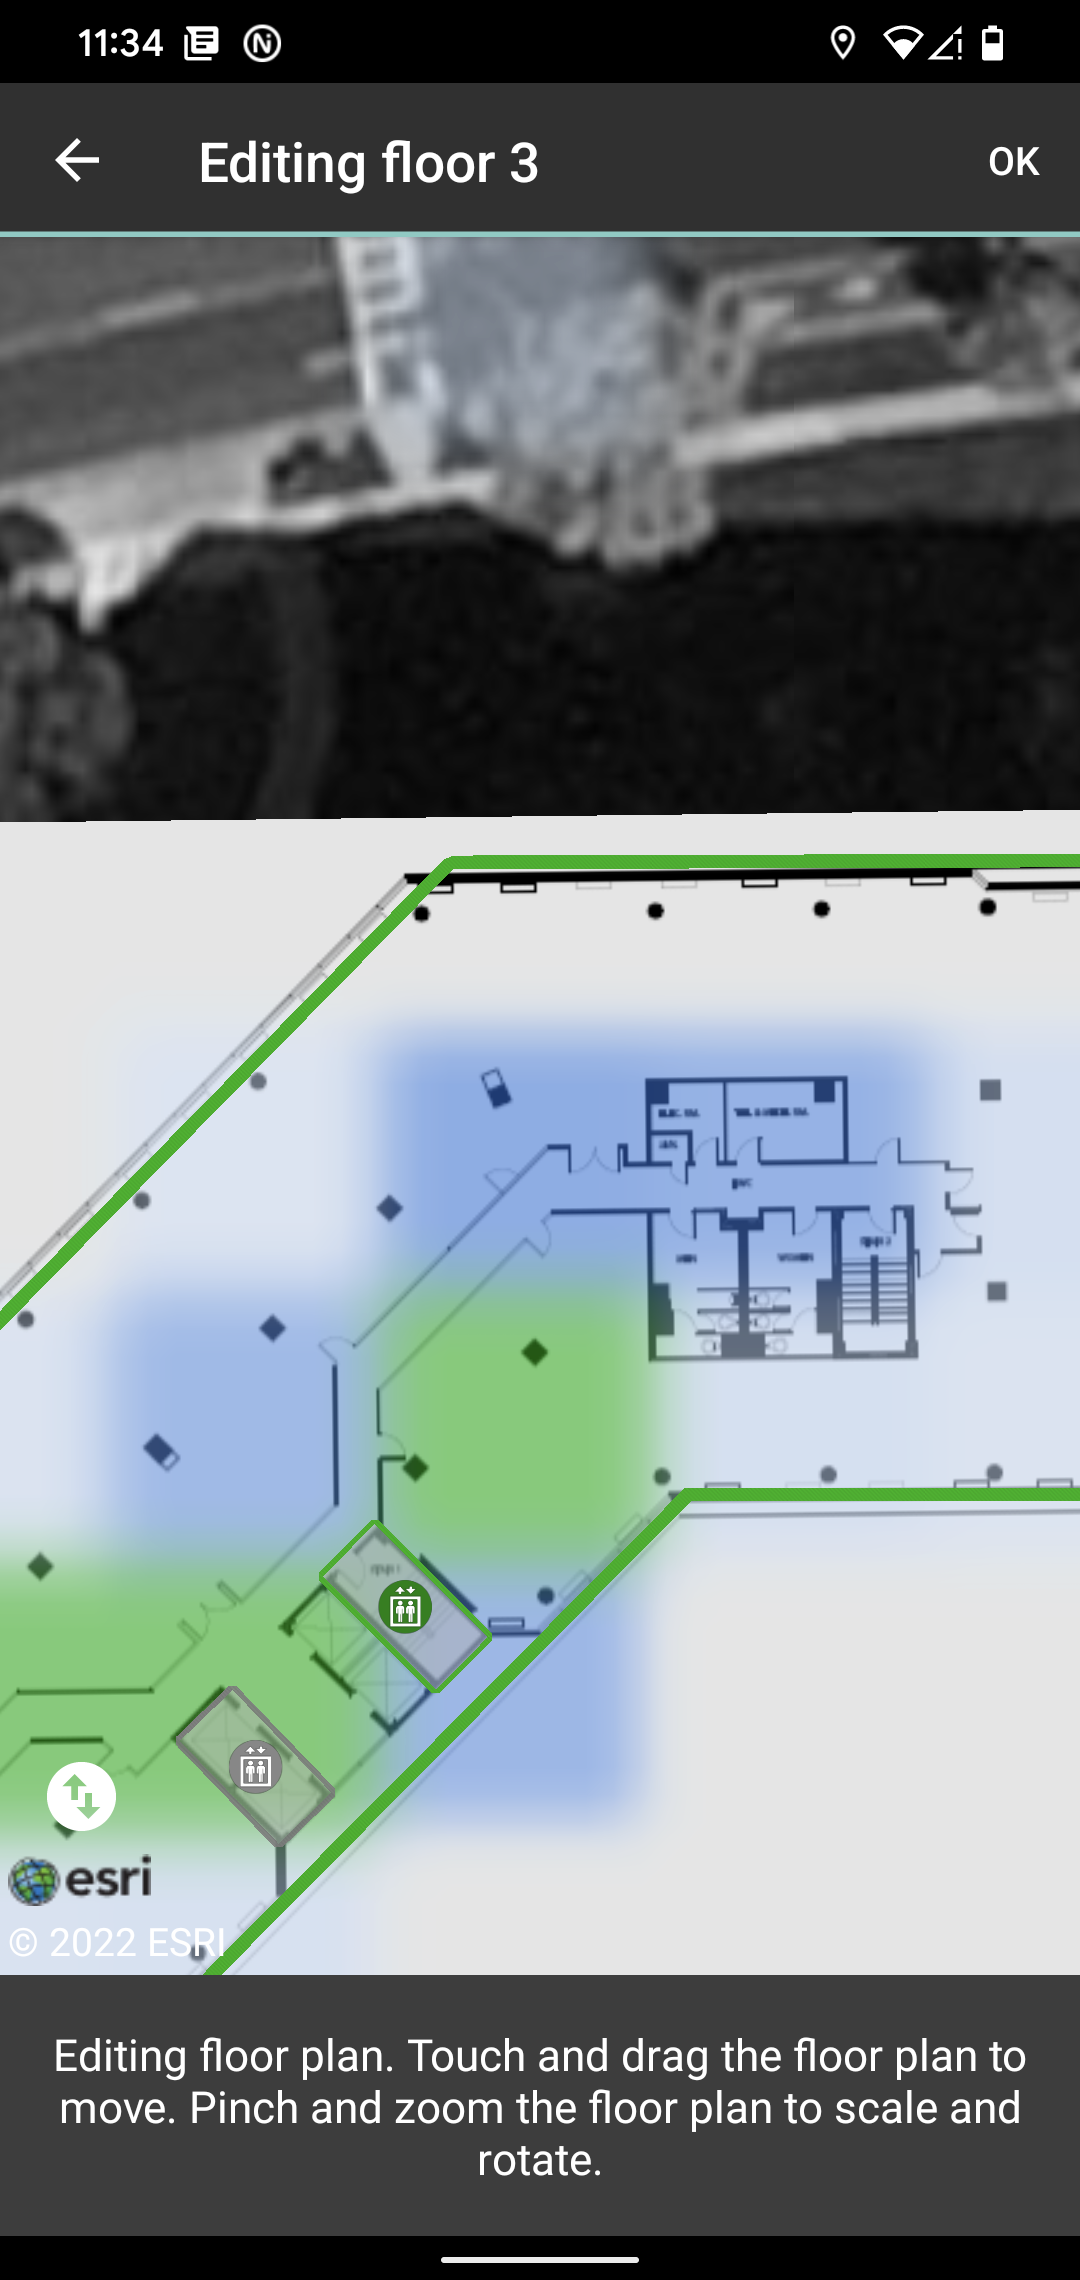
If the floor plan is an architectural drawing, use a fingertip to resize and rotate the floor plan to make it fit over the building outline. When done, tap the “Check Mark” icon in the upper right corner to confirm the changes.
-
To edit another floor, repeat steps 4 through 6.
-
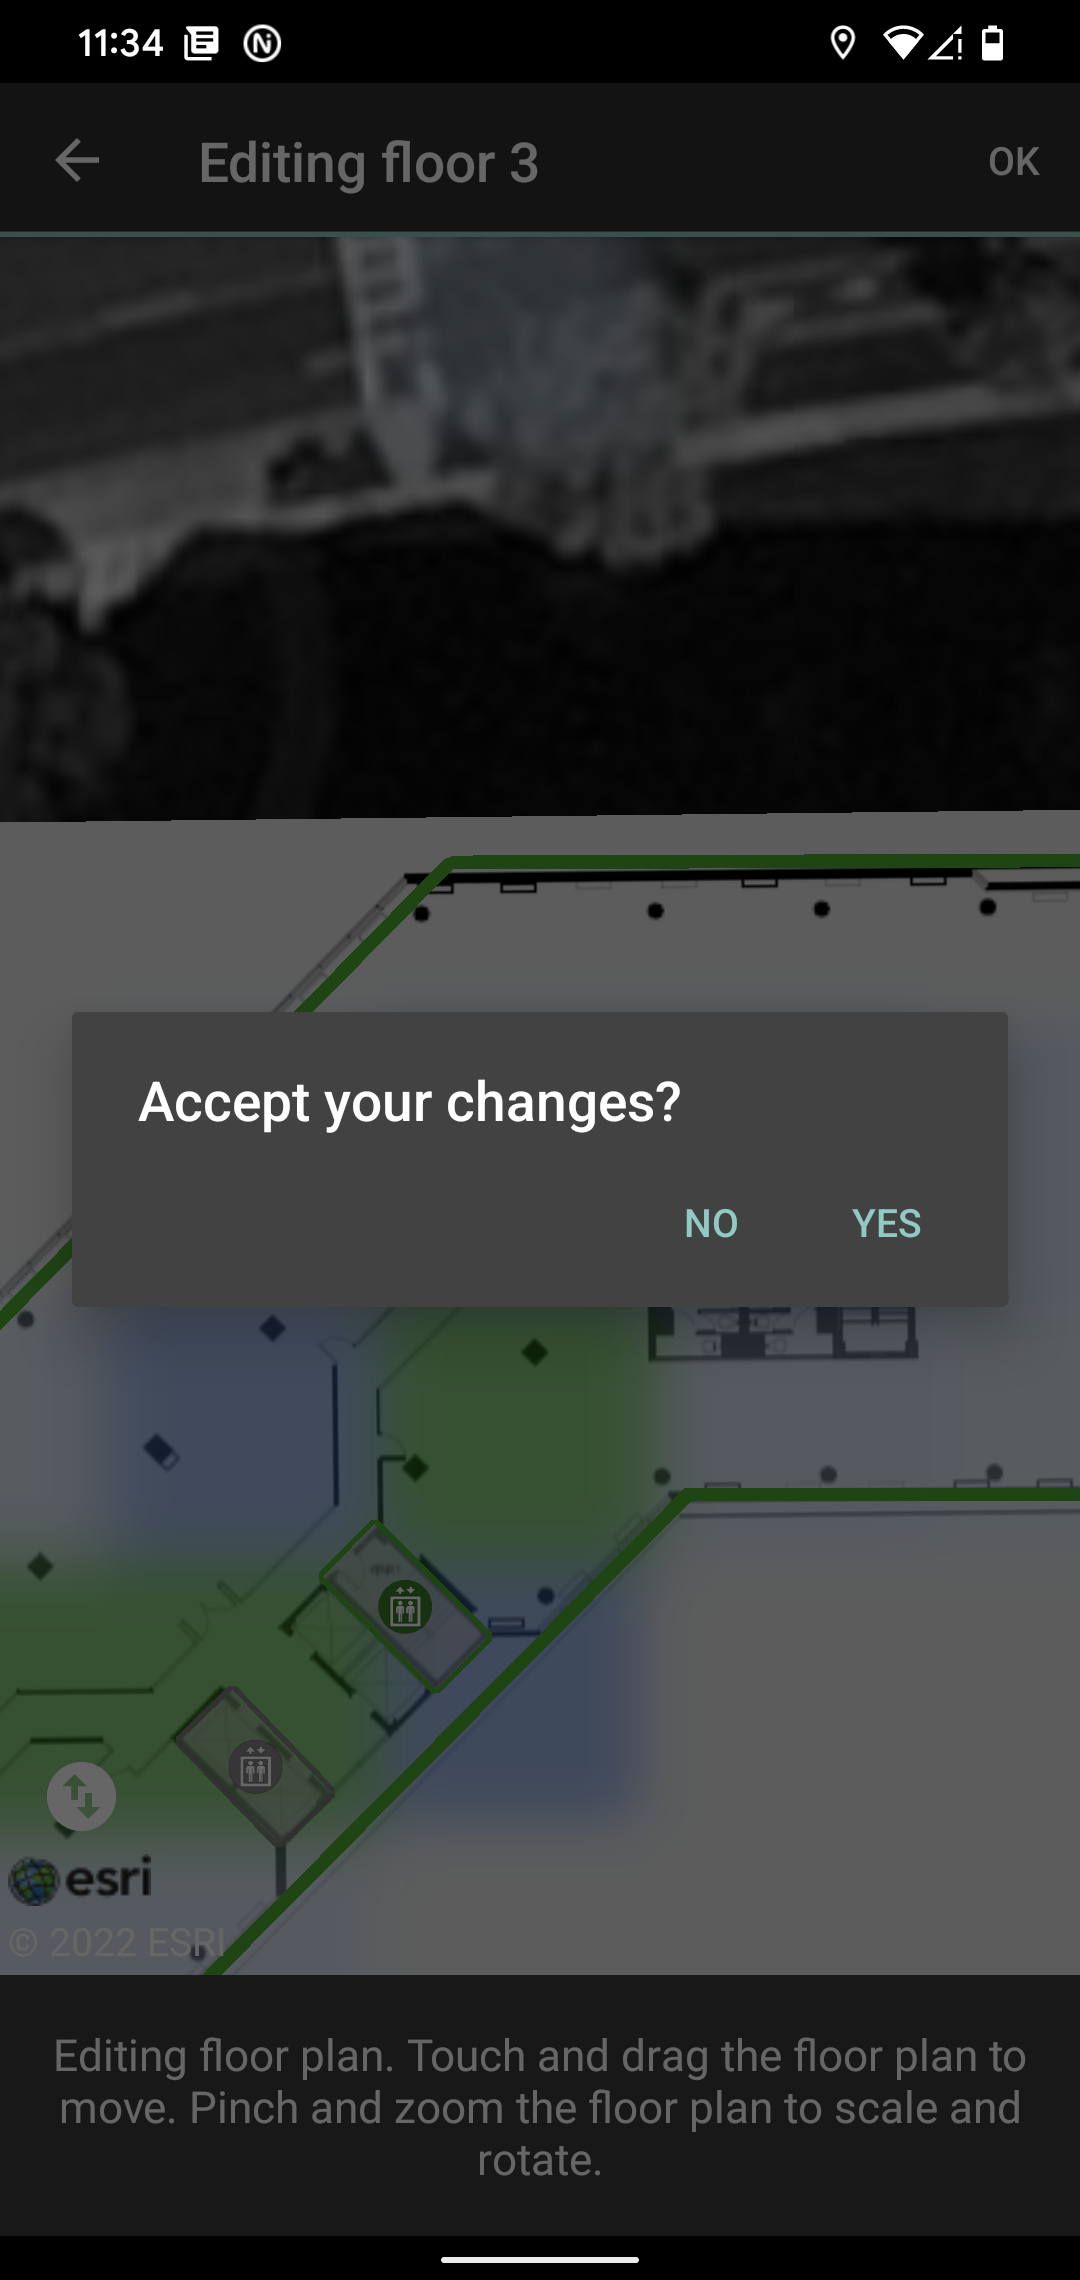
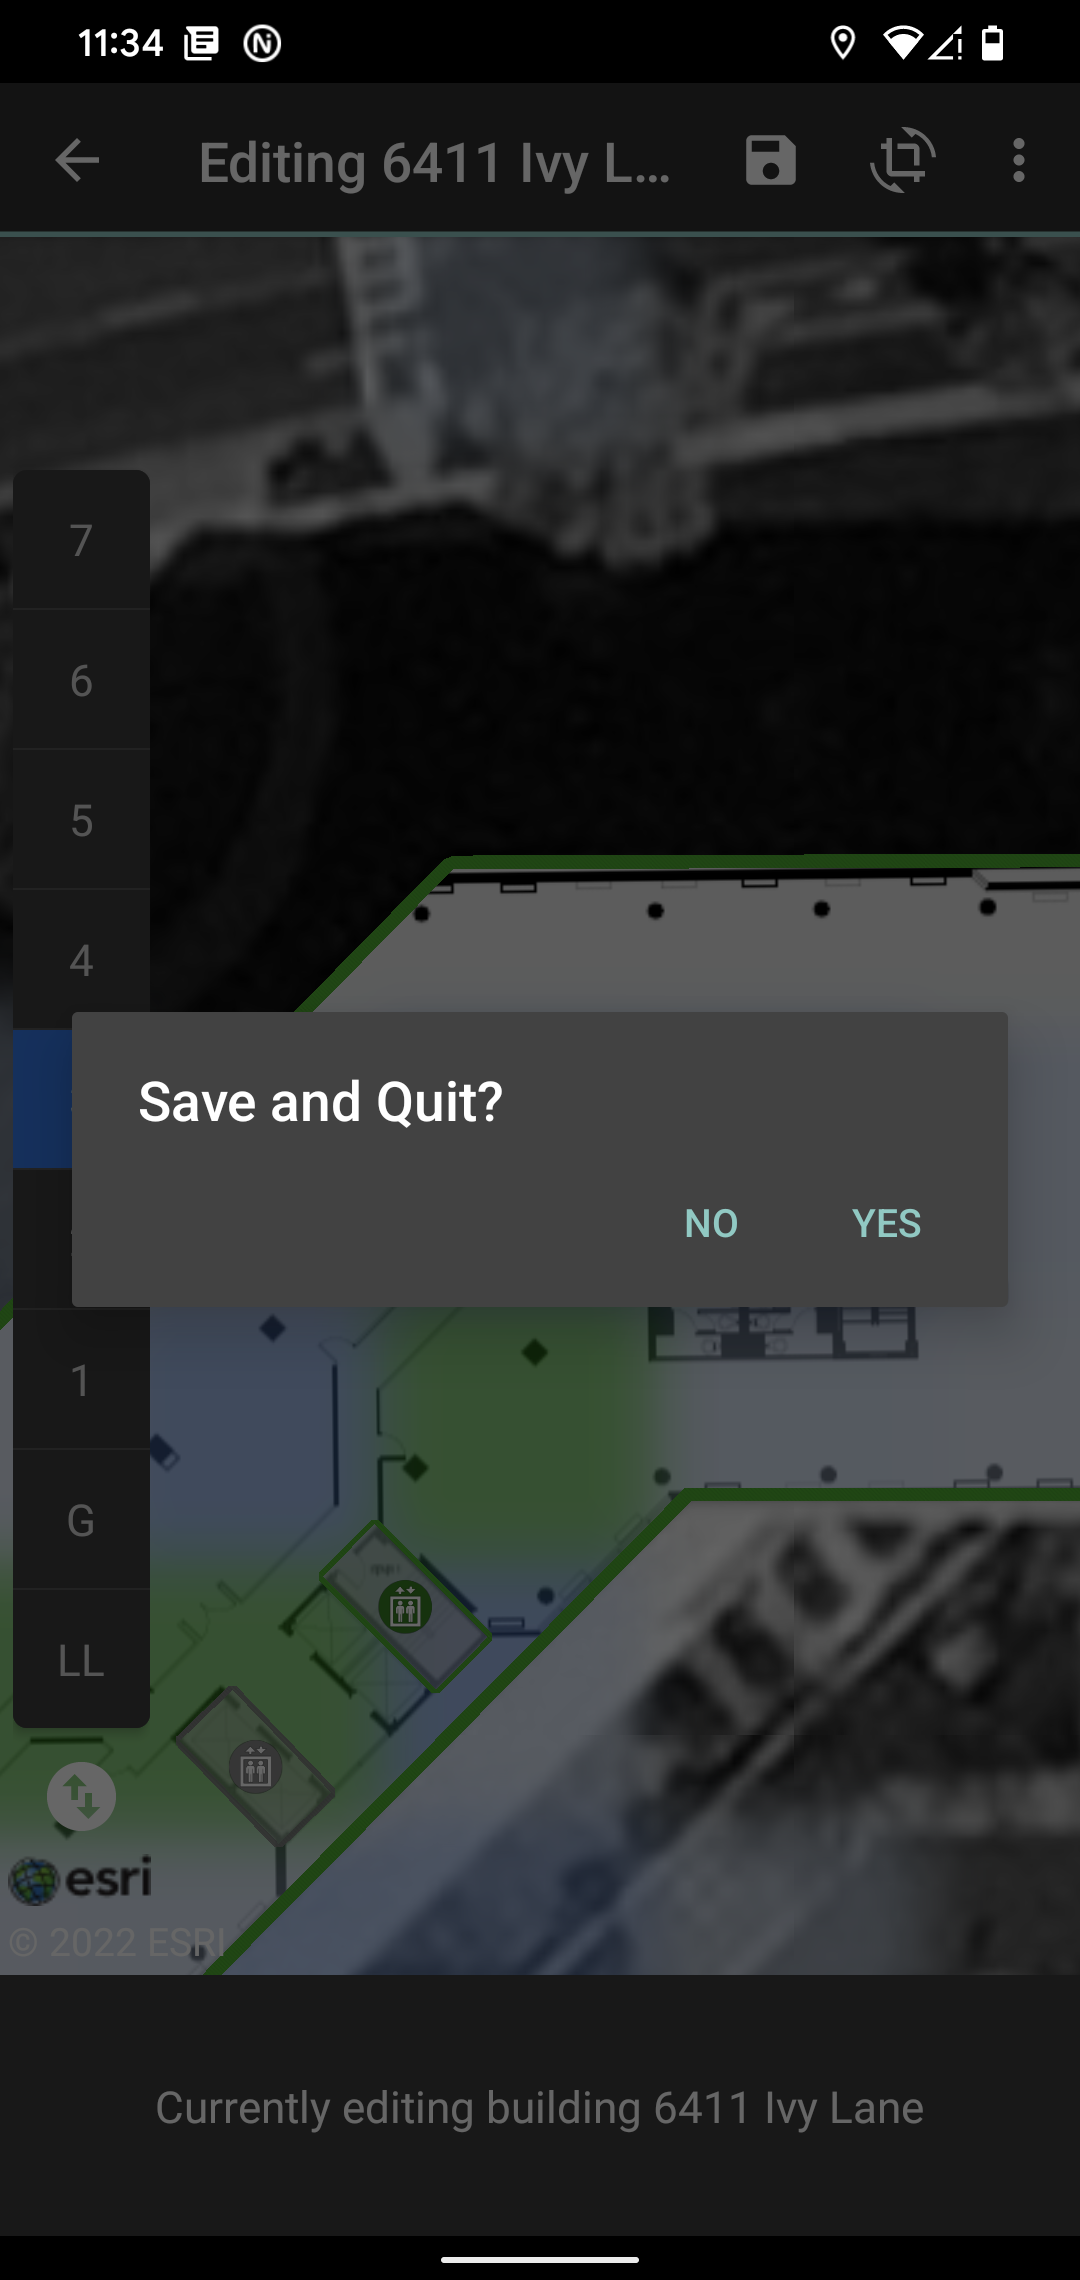
To save the recent changes to the building model, tap the “Save” icon and then tap “Yes”. To discard, tap the “Back Button” and discard.
Saved building data is automatically uploaded to the cloud and becomes available to all users registered to the same NEON subscription. For information on how to keep building data in local memory and prevent it from syncing with the cloud, refer to the Offline Mode documentation.